Managing multiple tasks efficiently is crucial for productivity. One of the best ways to stay organized and streamline your workflow on a Windows computer is by using virtual desktops. This powerful feature, available in Windows 10 and 11, allows you to create multiple virtual desktops and switch between them seamlessly. In this guide, we’ll explore how to make the most of virtual desktops, enhancing your productivity and keeping your workspace clutter-free.
What Are Virtual Desktops?
Virtual desktops are essentially additional workspaces that allow you to organize open applications and windows across multiple screens without needing extra physical monitors. Each desktop can have its own set of open windows and applications, which you can switch between easily. This is particularly useful for separating different types of tasks, such as work, personal projects, and entertainment.
Why Use Virtual Desktops?
Before diving into the how-to, let’s consider why you might want to use virtual desktops:
- Organization: Keep different projects or tasks separate. For instance, you could have one desktop for work-related tasks and another for personal activities.
- Focus: Reduce distractions by limiting each desktop to specific activities. This can help you stay focused on one task at a time.
- Efficiency: Quickly switch between different tasks without the need to minimize and maximize windows repeatedly.
- Space Management: Maximize your screen real estate by spreading applications across multiple desktops.
Setting Up Virtual Desktops
Creating a New Desktop
To start using virtual desktops, you first need to create them. Here’s how:
- Using Task View:
- Click on the Task View button in the taskbar. This button looks like a rectangle with two smaller rectangles on either side. If you don’t see it, right-click the taskbar, go to Taskbar Settings, and ensure Task View is checked.
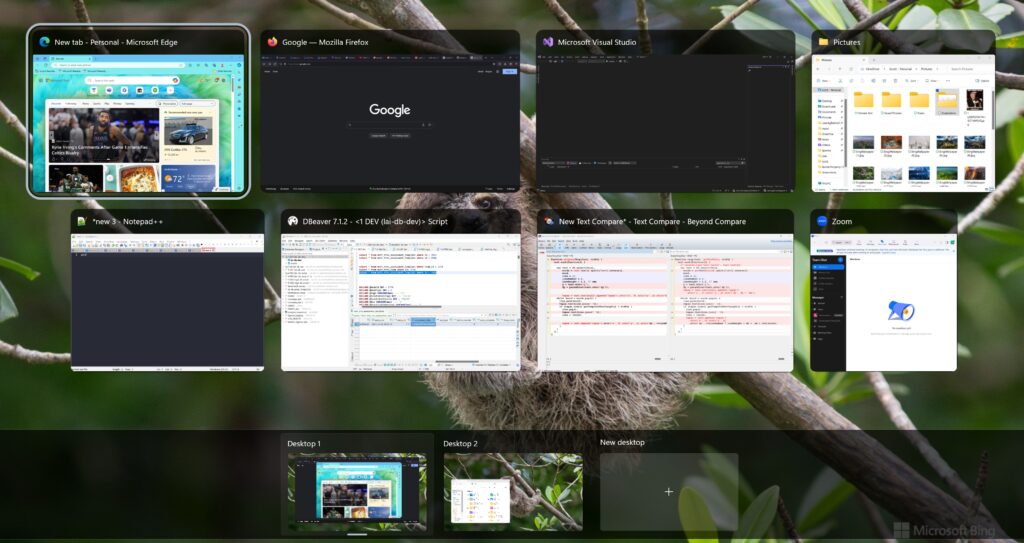
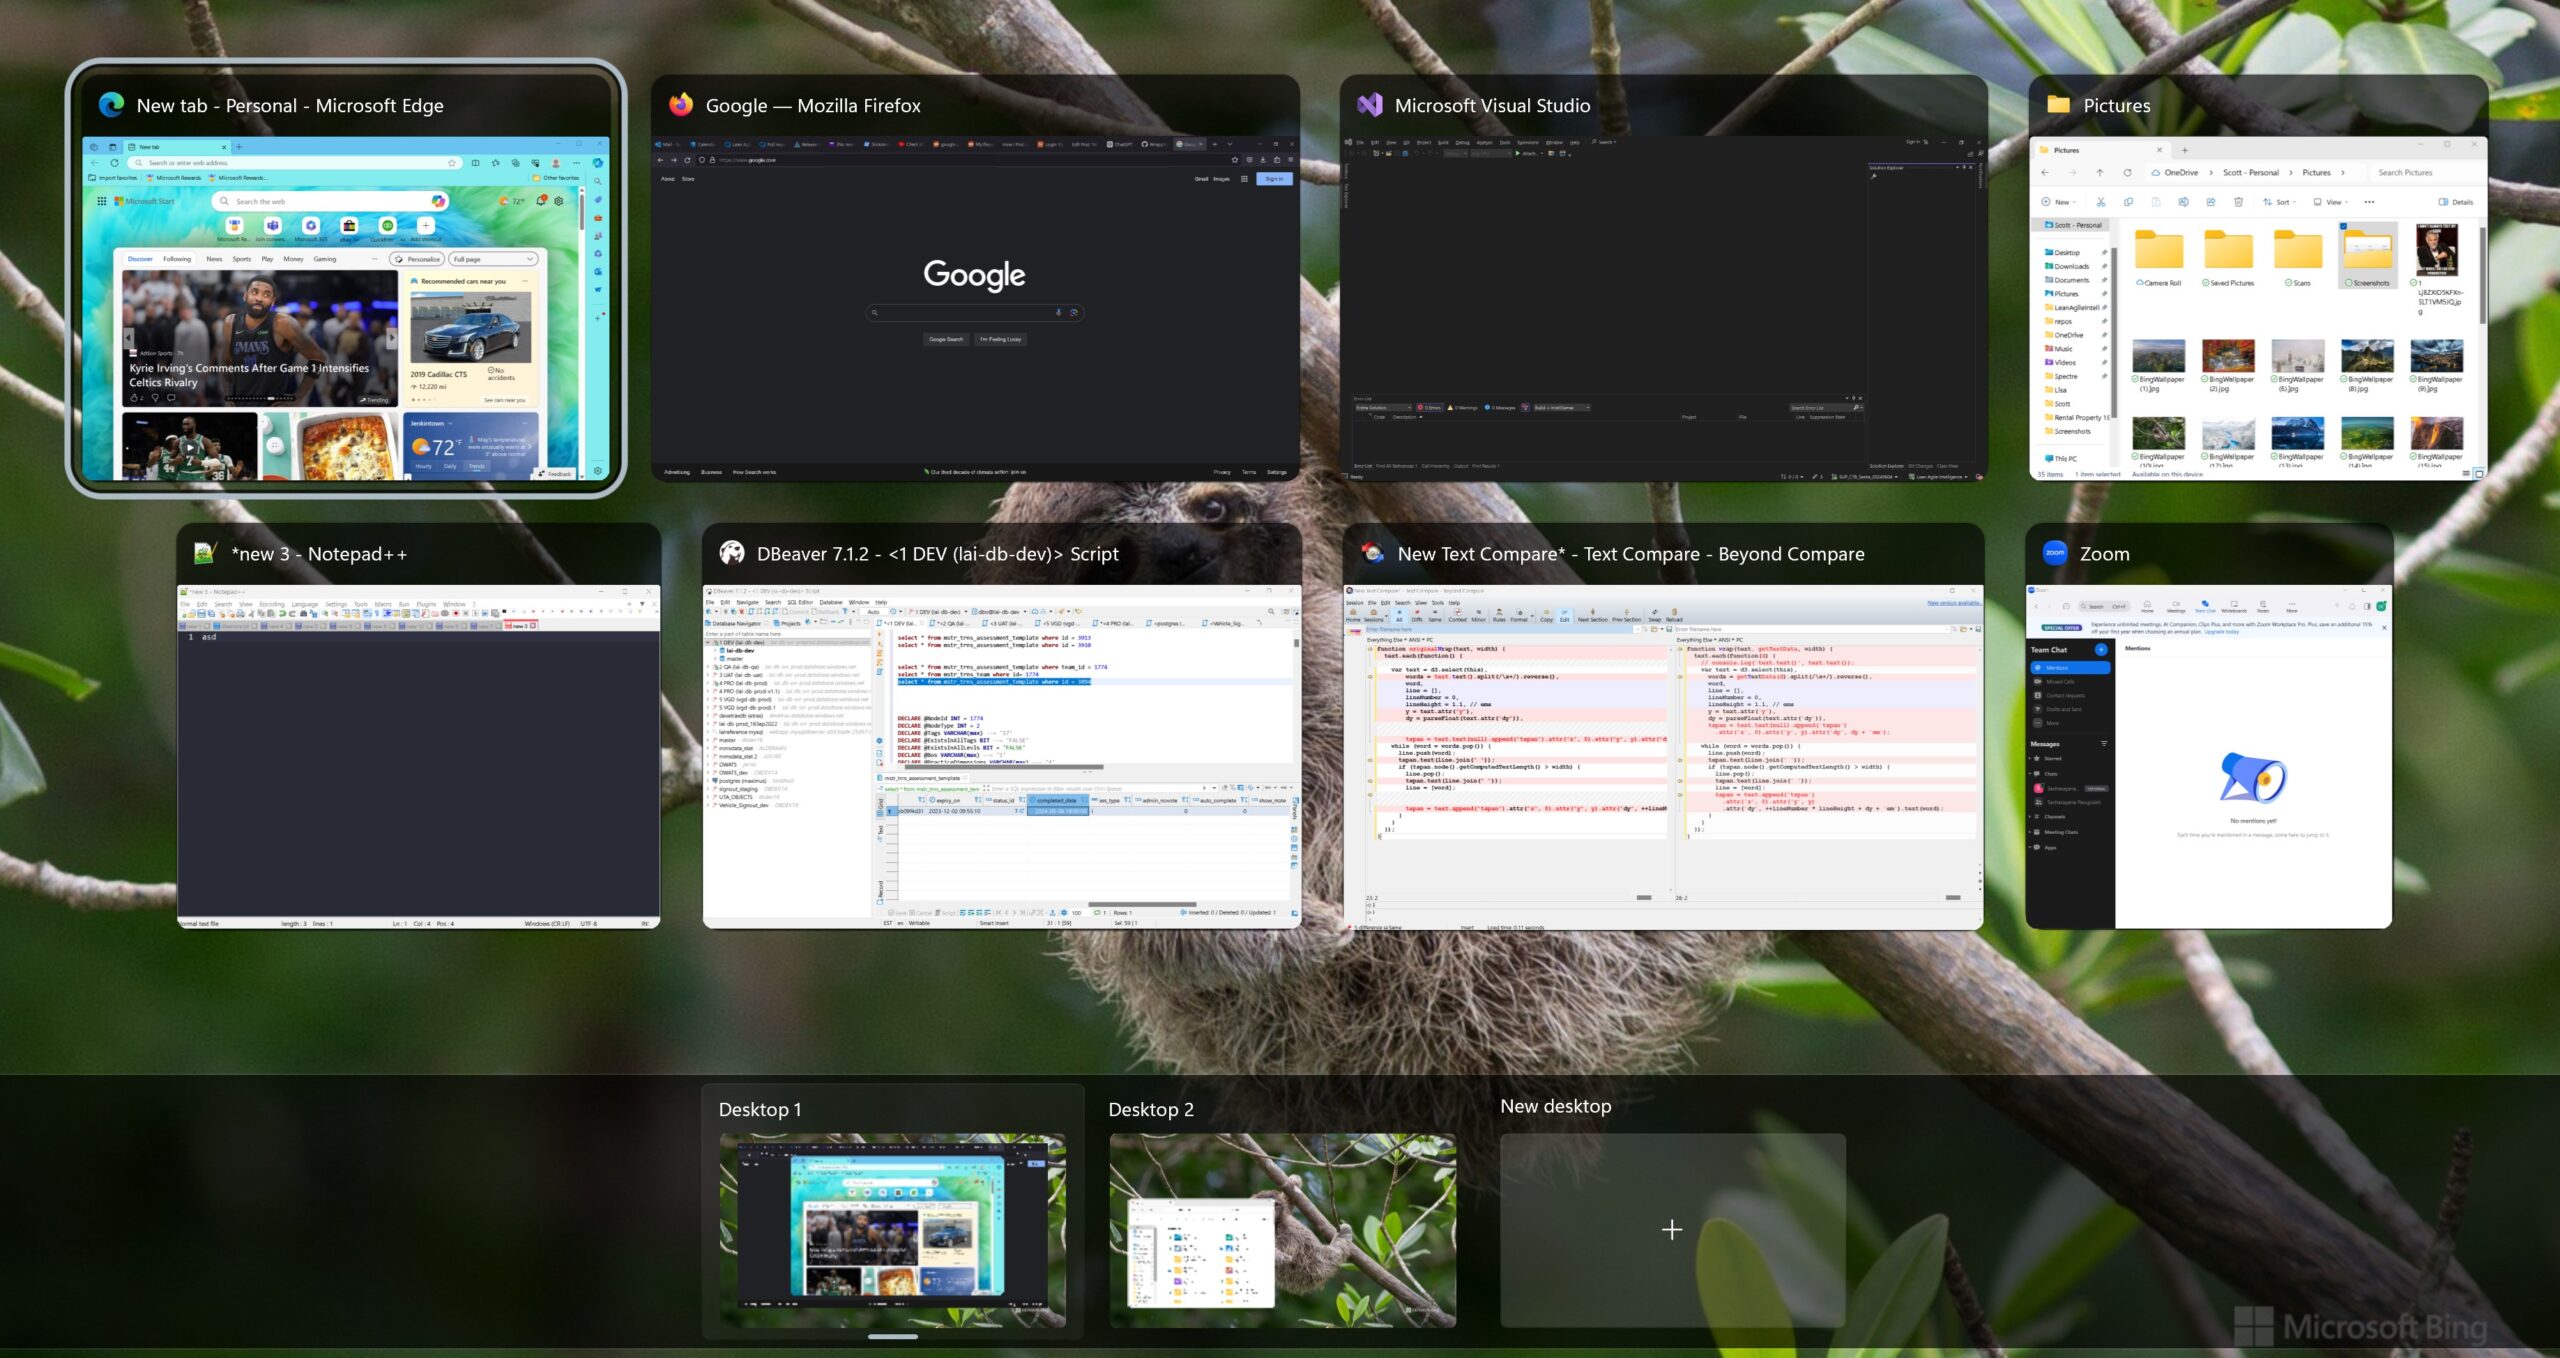
- In Task View, you’ll see all your currently open applications. At the top of the screen, you’ll find a button labeled New Desktop. Click on this to create a new virtual desktop.
- Note that you don’t have to enable the Task View button if you don’t like it on your taskbar. Using the
Windows + Tabshortcut will also get you there!
- Using Keyboard Shortcuts:
- You can also create a new desktop using the keyboard shortcut
Windows + Ctrl + D. This is a quick and efficient way to add a new workspace.
- You can also create a new desktop using the keyboard shortcut
Switching Between Desktops
Once you have multiple desktops set up, you’ll need to navigate between them. There are a couple of methods to do this:
- Using Task View:
- Click the Task View button or press
Windows + Tabto open Task View. Here, you’ll see a row of thumbnails at the top of the screen representing each virtual desktop. Simply click on the desktop you want to switch to.
- Click the Task View button or press
- Using Keyboard Shortcuts:
- For even faster navigation, use the keyboard shortcuts
Windows + Ctrl + Left ArroworWindows + Ctrl + Right Arrowto move to the previous or next desktop, respectively.
- For even faster navigation, use the keyboard shortcuts
Managing Applications Across Desktops
One of the key benefits of virtual desktops is the ability to manage your open applications more effectively.
Moving Windows Between Desktops
If you want to move an application window from one desktop to another, follow these steps:
- Using Task View:
- Open Task View by clicking the Task View button or pressing
Windows + Tab. - In Task View, click and hold the window you want to move and drag it to the desired desktop thumbnail at the top of the screen.
- Open Task View by clicking the Task View button or pressing
- Using Context Menu:
- Alternatively, right-click on the window’s title bar, select Move to, and choose the desktop where you want to place the window.
Closing a Desktop
When you’re done with a desktop, you can close it without losing your open applications:
- Using Task View:
- Open Task View and click the X on the desktop thumbnail you want to close. Any open applications on that desktop will be moved to the previous desktop.
Advanced Tips and Tricks
To get the most out of virtual desktops, consider these advanced tips and tricks:
Naming Desktops
While Windows does not natively support naming desktops, you can use third-party software like VirtuaWin or Dexpot to add this functionality. Naming desktops can help you remember the purpose of each one more easily.
Using Multiple Monitors
If you have multiple monitors, you can use virtual desktops to organize windows across all screens. Each virtual desktop will remember the window arrangement on each monitor, allowing you to switch between complete multi-monitor setups with ease. You shouldn’t need to waste time on managing your desktops as you add and remove physical monitors – let Windows do it for you.
Shortcut Customization
For power users, customizing keyboard shortcuts can make managing virtual desktops even more efficient. While Windows does not allow extensive customization natively, tools like AutoHotkey can help you create custom shortcuts and scripts to control your virtual desktops more precisely.
Common Use Cases
To illustrate the versatility of virtual desktops, here are a few common use cases:
- Work and Personal Separation:
- Keep work-related applications (like email, project management tools, and office software) on one desktop, and personal applications (like social media, entertainment, and personal projects) on another. This separation helps maintain focus and boundaries between work and leisure.
- Project Organization:
- If you’re working on multiple projects simultaneously, dedicate a desktop to each project. This way, you can have all related files and applications open without cluttering a single workspace.
- Meeting Preparation:
- Use a separate desktop for meetings. Open all necessary documents, presentations, and communication tools on this desktop, so you’re always ready and organized when the meeting starts.
Conclusion
Virtual desktops in Windows are a powerful tool for improving productivity and organization. By creating and managing multiple desktops, you can keep your workspace tidy, reduce distractions, and switch between tasks more efficiently. Whether you’re a professional looking to streamline your workflow or a student trying to balance schoolwork and personal projects, virtual desktops offer a flexible and effective solution.
Start experimenting with virtual desktops today, and discover how this feature can transform your digital workspace. With a little practice, you’ll be switching between desktops like a pro, making the most of your Windows experience.
