Encountering a read-only Word document can be frustrating, especially when you need to make quick edits. Whether it’s a document shared by a colleague, a downloaded file from the web, or a protected document that you’ve accidentally set to read-only, this limitation can slow you down. Fortunately, there are several ways to bypass this restriction and convert your read-only Word documents into editable versions online. This guide will walk you through the most effective methods to achieve this, with an emphasis on simplicity, security, and efficiency.
Why Are Word Documents Read-Only?
Before diving into the solutions, it’s important to understand why some Word documents are read-only in the first place. Common reasons include:
- Document Protection: The document owner may have set restrictions to prevent unauthorized editing.
- Download Settings: Files downloaded from the internet or email attachments are often set to read-only by default as a security measure.
- File Permissions: If you’re accessing the document from a shared network or cloud storage, your access might be limited to prevent changes.
- Unintended Lock: Sometimes, the read-only status is simply a result of the document being open in another program or by another user.
Understanding these reasons can help you choose the best method to unlock and edit the document.
Method 1: Use Google Docs to Edit the Document
One of the most popular ways to edit read-only Word documents online is by using Google Docs. This method is especially convenient if you’re already using Google Workspace or need to collaborate with others.
Steps to Edit Using Google Docs
- Upload the Document to Google Drive: Open Google Drive and drag the read-only Word document into your Drive or click “New” > “File upload” to upload it manually.
- Open with Google Docs: Once the document is uploaded, right-click on it and select “Open with” > “Google Docs.” Google Docs will automatically convert the Word file into an editable Google Docs format.
- Edit the Document: You can now make any necessary changes to the document. If you need to retain the Word format, you can download the edited document as a Word file by clicking “File” > “Download” > “Microsoft Word (.docx).”
Pros and Cons of Google Docs
- Pros:
- Easy to use and widely accessible.
- Supports collaboration with multiple users in real-time.
- Automatically saves changes, preventing data loss.
- Cons:
- Formatting might change slightly during conversion.
- Requires a Google account and internet access.
Method 2: Use Microsoft Word Online
Another effective method is to use Microsoft Word Online, the web-based version of Microsoft Word. This approach is ideal if you prefer staying within the Microsoft ecosystem.
Steps to Edit Using Microsoft Word Online
- Upload the Document to OneDrive: Sign in to your Microsoft account and upload the read-only Word document to OneDrive by dragging it into the OneDrive folder or clicking “Upload” > “Files.”
- Open the Document in Word Online: Once the document is uploaded, click on it to open it in Microsoft Word Online. If the document is read-only, you can typically click “Edit in Browser” to start making changes.
- Save Your Changes: After editing, Word Online automatically saves your changes. If needed, you can download the document by clicking “File” > “Save As” > “Download a Copy.”
Pros and Cons of Word Online
- Pros:
- Maintains Word’s original formatting.
- Integrated with OneDrive for easy access across devices.
- No need to install additional software.
- Cons:
- Requires a Microsoft account.
- Limited functionality compared to the desktop version of Word.
Method 3: Convert the Document to Another Format
If the above methods aren’t suitable, you can also convert the read-only Word document to another format, such as PDF or plain text, which can then be edited online.
Steps to Convert and Edit
- Use an Online Converter: Several online tools, such as Smallpdf, allow you to convert Word documents to other formats like PDF or text. Upload your read-only document and choose the desired output format.
- Edit the Converted Document: If you’ve converted the document to PDF, you can use a tool like Adobe Acrobat Online to edit the PDF. If you’ve converted it to text, simply open it in an online text editor like Notepad++ or directly in Google Docs.
- Reconvert If Necessary: Once you’ve made your changes, you can reconvert the document back to Word format using the same online tools if needed.
Pros and Cons of Converting Formats
- Pros:
- Bypasses read-only restrictions entirely.
- Versatile, with multiple output options.
- Can be useful for extensive editing or reformatting.
- Cons:
- Conversion may result in loss of formatting or data.
- Some online converters have file size limits or require a subscription.
Method 4: Disable Read-Only Mode Directly in Word
If you’re working on your own computer and have access to the full version of Microsoft Word, you might be able to disable the read-only mode directly.
Steps to Disable Read-Only Mode
- Open the Document in Word: Open the read-only Word document on your computer.
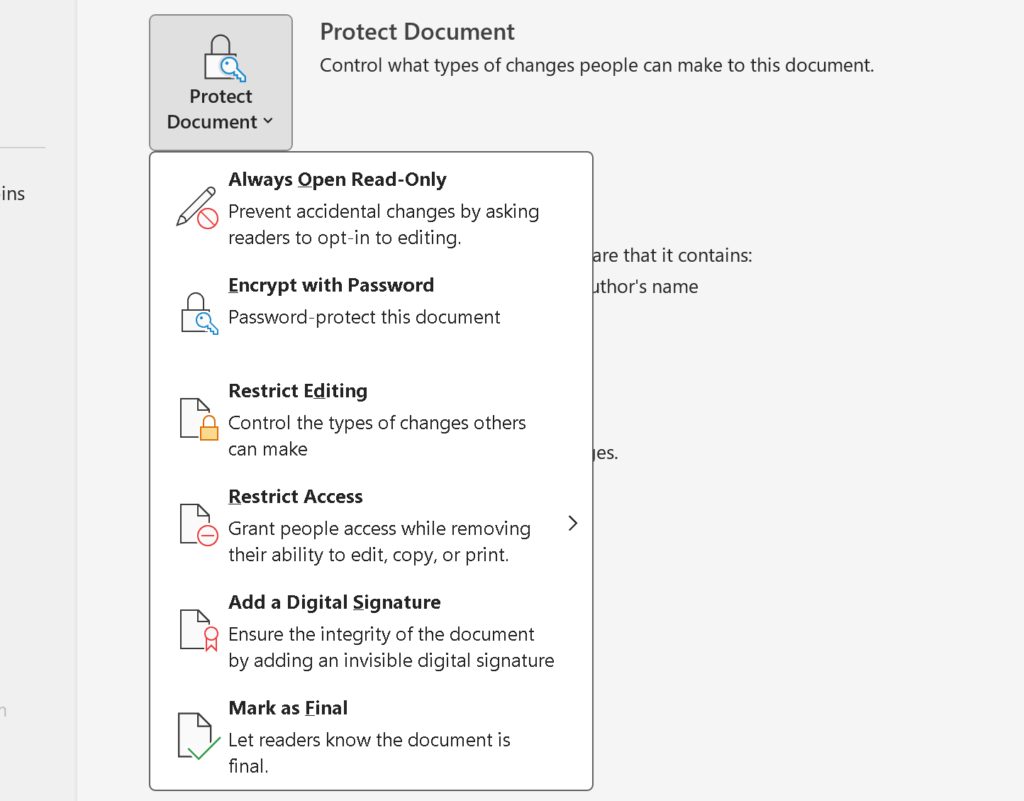
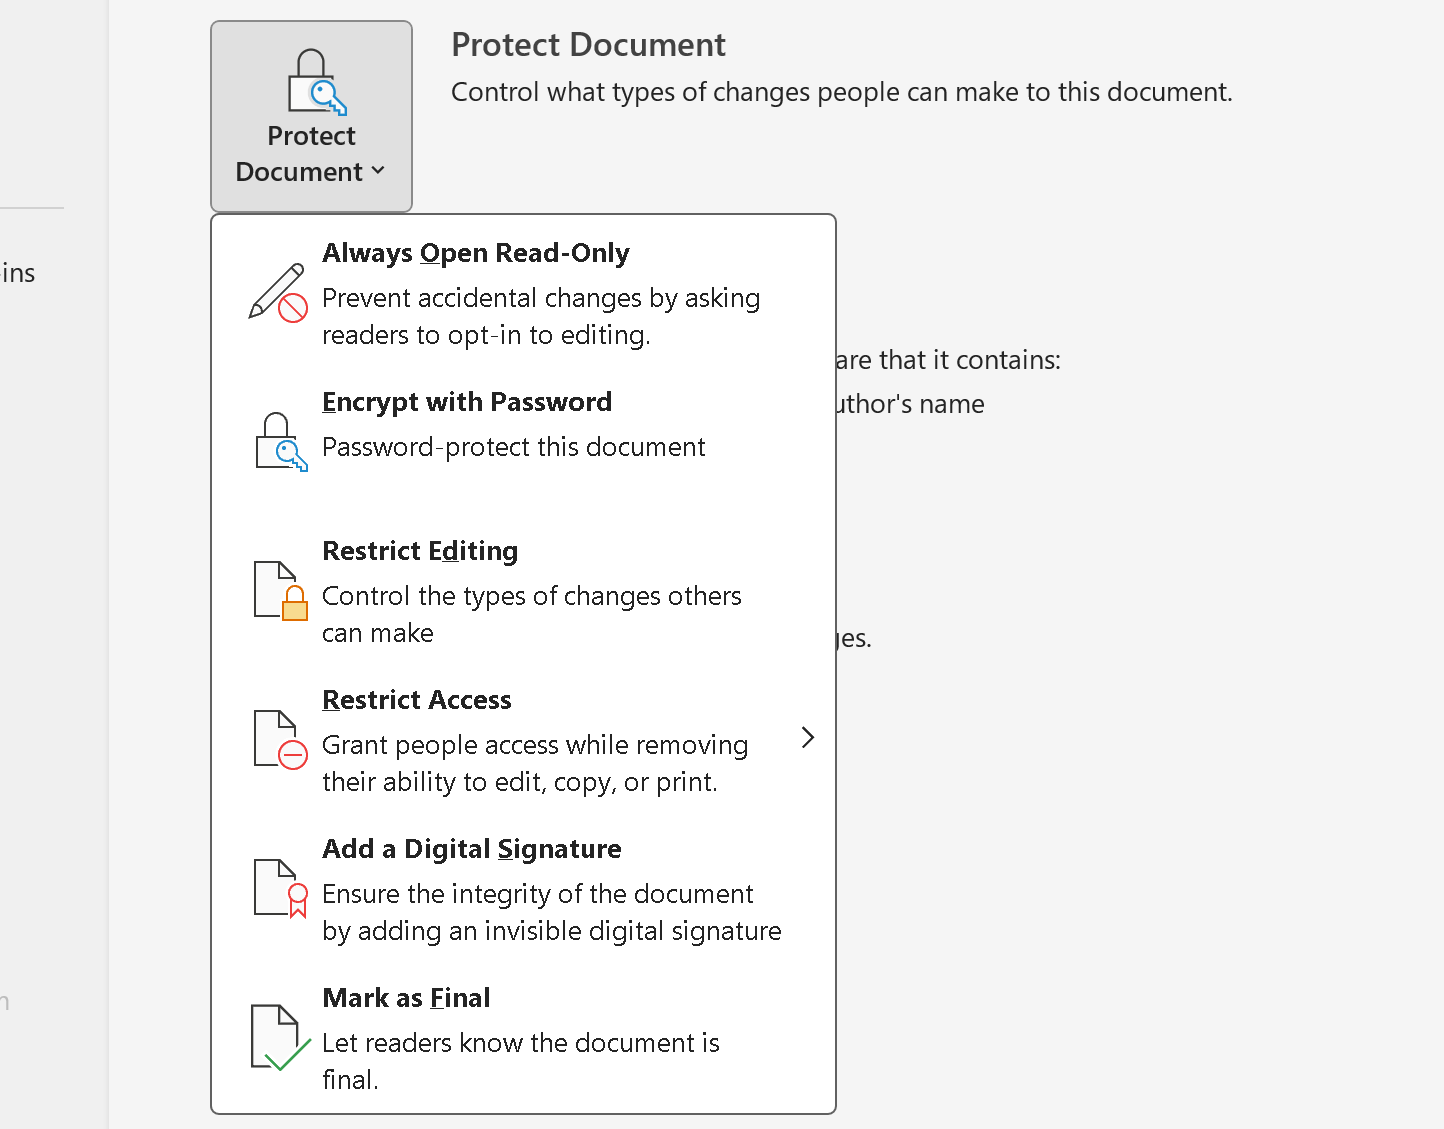
- Check Document Properties: Click “File” > “Info.” If the document is marked as read-only, you might see an option to “Protect Document.” Click this and then select “Stop Protection.” You may need to enter a password if one was set.
- Save the Document: After making it editable, save the document by clicking “File” > “Save As” and give it a new name if you want to keep the original read-only version intact.
Pros and Cons of Disabling Read-Only Mode
- Pros:
- Maintains the original formatting.
- Quick and easy if you have the necessary permissions.
- Cons:
- Requires access to the full desktop version of Word.
- May not work if you don’t have the password or permissions.
Method 5: Use a Third-Party Tool
For more complex cases or if you’re frequently dealing with read-only documents, third-party tools like Unlocker can help. These tools are designed to remove restrictions from files, allowing you to edit them freely.
Steps to Use a Third-Party Tool
- Download and Install: Download and install the tool of your choice. Make sure to download from a reputable source to avoid malware.
- Select the Document: Open the tool and select the read-only Word document.
- Unlock the Document: Follow the tool’s instructions to remove the read-only status.
- Edit in Word: After unlocking, open the document in Word and begin editing.
Pros and Cons of Third-Party Tools
- Pros:
- Powerful and versatile.
- Can handle a variety of restrictions and file types.
- Cons:
- Some tools require a purchase or subscription.
- Potential security risks if downloaded from untrusted sources.
Conclusion
Dealing with read-only Word documents doesn’t have to be a hassle. Whether you prefer using built-in tools like Google Docs and Word Online, converting the document to another format, or disabling read-only mode directly in Word, there’s a solution to fit every need. For those who frequently encounter these restrictions, third-party tools can offer additional functionality and flexibility.
By following the methods outlined in this guide, you can easily edit read-only Word documents online, saving time and maintaining productivity. Remember, the key to choosing the best method depends on your specific situation and the tools at your disposal. With the right approach, you can quickly regain control over your documents and continue working without interruption.
